Imagine the comforting aroma of freshly baked bread filling your kitchen and tantalizing your senses. With this Grandma Sycamore Bread Recipe, you can relive cherished family moments and create new memories around the dinner table.
This recipe is a blend of simple ingredients and easy-to-follow steps, offering a foolproof way to master a loaf that’s both fluffy and delicious.
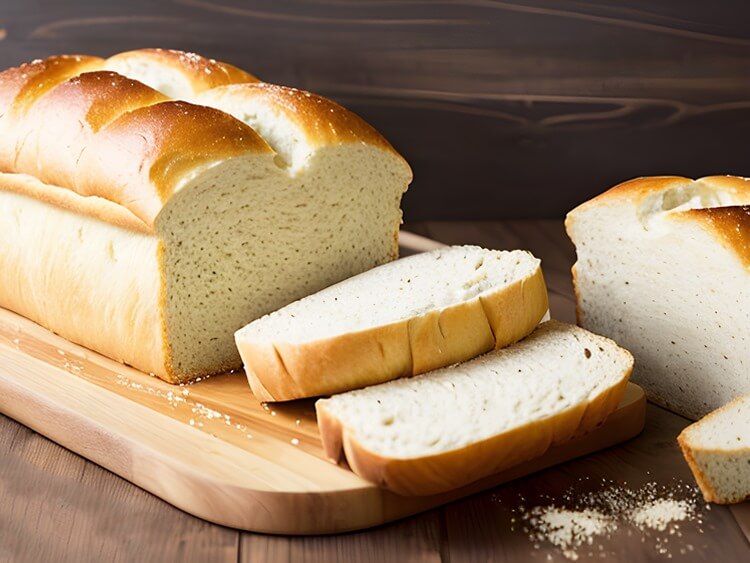
How To Bake Grandma Sycamore Bread – Taste of Home
Baking bread can often seem like a daunting task, especially for beginners, but don’t fret — this Grandma Sycamore Bread Recipe simplifies the process beautifully. With our foolproof steps and tips, you’ll master the art of crafting this heartwarming, delicious loaf in no time at all.
Equipment:
- Large mixing bowl
- Wooden spoon or dough hook
- Measuring cups and spoons
- 9×5-inch loaf pans (2)
- Pastry brush
- Kitchen towel
- Cooking thermometer
- Wire cooling rack
- Plastic wrap or aluminum foil for storing
Ingredients:
- Warm water (110°F) — 1 ¼ cups
- Granulated sugar — 2 tablespoons
- Active dry yeast (1 packet) — 2 ¼ teaspoons
- All-purpose flour, plus extra for dusting — 4 cups
- Salt — 1 ½ teaspoons
- Unsalted butter, melted — ¼ cup
- Whole milk — ¼ cup
- Egg for egg wash — 1 (optional)
Grandma Sycamore Bread Recipe – Step-by-Step Instructions
Step 1:
Activate the Yeast: In a small bowl, combine warm water, sugar, and yeast. Stir and let it sit for 5-10 minutes until frothy.
Step 2:
Prepare the Dough: In a large mixing bowl, add the flour and salt. Create a well in the center and pour in the activated yeast mixture, melted butter, and milk.
Step 3:
Mix and Knead: Using a wooden spoon or dough hook, mix until a dough forms. Work the dough on a surface dusted with flour for around 8 minutes until it feels smooth and stretchy.
Step 4:
First Rise: Transfer the dough into a bowl that’s been lightly greased, cover it with a cloth, and let it expand until it’s about twice its original volume, which should take between 1 to 2 hours.
Step 5:
Shape the Loaves: Punch down the dough and divide it into two equal portions. Shape each into a loaf and place them in greased 9×5-inch loaf pans.
Step 6:
Second Rise: Drape a cloth over the baking pans and allow the dough to puff up for approximately half an hour to 45 minutes.
Step 7:
Preheat Oven: Preheat your oven to 375°F (190°C).
Step 8:
Optional Egg Wash: Beat one egg and brush the top of each loaf lightly for a golden finish.
Step 9:
Bake: Insert the pans into a preheated oven and cook for a duration of 25 to 30 minutes, or until the top is a rich golden hue and a thermometer indicates at least 190°F.
Step 10:
Cool and Serve: After taking them out of the oven, let the bread loaves settle and cool down on a cooling rack before you start cutting slices.
Recipe Remarks
- Make sure the water is at the right temperature to activate the yeast properly.
- Use high-quality flour and fresh yeast for the best results.
- Kneading well ensures a soft and fluffy texture in your Grandma Sycamore Bread.
- For optimal rising, place your dough in a location that is warm and devoid of drafts.
- Don’t skip the second rise; it gives the bread a finer crumb.
Variations
- Whole Wheat: Substitute half of the all-purpose flour with whole wheat flour.
- Seeds and Nuts: Add a handful of your favorite seeds or nuts for extra texture.
- Herb Bread: Add 1 tablespoon of dried herbs like rosemary or thyme to the flour.
- Garlic Bread: Incorporate minced garlic and a sprinkle of Parmesan cheese into the dough.
- Sweet Loaf: Add raisins and a touch of cinnamon to make a delightful breakfast bread.
Conclusion
Mastering this Grandma Sycamore Bread Recipe is like taking a stroll down memory lane, conjuring a sense of comfort and nostalgia that only homemade bread can offer.
From the first whiff of the rising dough to the last buttery slice, this bread is more than just food — it’s an experience that binds generations.
Enjoy the timeless pleasure of baking from scratch, and let the Grandma Sycamore Bread Recipe become your new family tradition.
FAQs
Who Is The Creator Of The Original Grandma Sycamore Bread?
The original Grandma Sycamore Bread is a branded product. The recipe is proprietary and aimed at creating a soft, slightly sweet loaf. The brand has built its reputation on high-quality ingredients and traditional baking methods.
How Do I Know When The Grandma Sycamore Bread Is Done Baking?
The bread is typically done when it has a golden-brown crust and sounds hollow when you tap it on the bottom. An instant-read thermometer inserted into the center should read between 190°F and 210°F (88°C to 99°C).
Why Is My Grandma Sycamore Bread Not Rising?
There are several factors that could contribute to your bread not rising, such as expired yeast, incorrect water temperature for activating the yeast, or not giving the dough enough time to rise. Make sure to carefully follow the recipe and check the expiration dates on your ingredients.
How Should I Store Grandma Sycamore Bread?
To keep it fresh, store the bread in a container with an airtight seal or in a resealable plastic pouch at a room-temperature setting. For up to 4-5 days, it should remain fresh. For longer storage, consider freezing it.
Is This Bread Suitable For Sandwiches?
Absolutely! Grandma Sycamore Bread has a soft but sturdy texture, making it excellent for sandwiches. Its unique texture allows for versatile uses, from classic deli sandwiches to gourmet creations.

Grandma Sycamore Bread Recipe
Equipment
- Large mixing bowl
- Wooden spoon or dough hook
- Measuring cups and spoons
- 2 9×5-inch loaf pans
- Pastry brush
- Kitchen towel
- Cooking thermometer
- Wire cooling rack
- Plastic wrap or aluminum foil for storing
Ingredients
- Warm water (110°F) 1 ¼ cups
- Granulated sugar 2 tablespoons
- Active dry yeast (1 packet) 2 ¼ teaspoons
- All-purpose flour, plus extra for dusting 4 cups
- Salt 1 ½ teaspoons
- Unsalted butter, melted ¼ cup
- Whole milk ¼ cup
- Egg for egg wash (optional) 1
Instructions
- Activate the Yeast: In a small bowl, combine warm water, sugar, and yeast. Stir and let it sit for 5-10 minutes until frothy.
- Prepare the Dough: In a large mixing bowl, add the flour and salt. Create a well in the center and pour in the activated yeast mixture, melted butter, and milk.
- Mix and Knead: Using a wooden spoon or dough hook, mix until a dough forms. Work the dough on a surface dusted with flour for around 8 minutes until it feels smooth and stretchy.
- First Rise: Transfer the dough into a bowl that's been lightly greased, cover it with a cloth, and let it expand until it's about twice its original volume, which should take between 1 to 2 hours.
- Shape the Loaves: Punch down the dough and divide it into two equal portions. Shape each into a loaf and place them in greased 9×5-inch loaf pans.
- Second Rise: Drape a cloth over the baking pans and allow the dough to puff up for approximately half an hour to 45 minutes.
- Preheat Oven: Preheat your oven to 375°F (190°C).
- Optional Egg Wash: Beat one egg and brush the top of each loaf lightly for a golden finish.
- Bake: Insert the pans into a preheated oven and cook for a duration of 25 to 30 minutes, or until the top is a rich golden hue and a thermometer indicates at least 190°F.
- Cool and Serve: After taking them out of the oven, let the bread loaves settle and cool down on a cooling rack before you start cutting slices.
Notes
- Make sure the water is at the right temperature to activate the yeast properly.
- Use high-quality flour and fresh yeast for the best results.
- Kneading well ensures a soft and fluffy texture in your Grandma Sycamore Bread.
- For optimal rising, place your dough in a location that is warm and devoid of drafts.
- Don’t skip the second rise; it gives the bread a finer crumb.
